Fish and chips live or die by the batter. Get it right and you get a shell that shatters under a fork, steams gently around the fish, and stays crisp long enough to reach the plate. Get it wrong and you get a pale, greasy sleeve that slides off in one sad piece. The good news is that batter is not complicated. It is flour, liquid, salt and a few decisions about heat and timing. Here is how to make those decisions on your first attempt.
What a Good Batter Is Actually Doing
Before you touch a whisk, it helps to know what each part of the batter is for. A good fish batter has three jobs: seal the fish so it cooks in its own steam, puff just enough to stay light rather than bready, and brown evenly without drinking oil.
Every ingredient earns its place:
- Plain flour gives the shell its structure. Too much and you get a tough, biscuity jacket.
- Cornflour or rice flour (about one part to four parts plain flour) keeps the crust crisp and thin rather than doughy.
- Baking powder or self-raising flour creates tiny bubbles that puff the batter in the hot oil.
- Cold liquid turns to steam at the moment of frying. That steam is what pushes the batter away from the fish and makes it crisp.
- Salt seasons the crust. Go lighter than you think — you can always salt the finished fish.
A reliable starting ratio is 100g plain flour, 25g cornflour, a teaspoon of baking powder and a good pinch of salt, thinned with roughly 150-175ml of very cold liquid. You can adjust from there once you have fried your first fillet.
Choosing Your Flour and Your Liquid
Self-raising flour works, but you have less control over how much lift you get. Plain flour with baking powder added yourself is more predictable, and a spoonful of cornflour is the difference between a crust that crackles and one that bends.
For the liquid, cold beer is the classic choice. The carbonation adds bubbles and the slight acidity keeps the gluten in check, which means less chew. Cold sparkling water does the same job without the flavour. Lager, ale and stout all work; the darker the beer, the more colour and malt flavour you get in the crust.
Milk is the one to avoid if your goal is maximum crunch. It browns quickly and tends to give a softer, more pancake-like coating. Save it for other cooking.
Whatever you use, it needs to be fridge-cold. Warm liquid encourages the flour to develop gluten, and gluten is what makes batter rubbery. If you are frying in a hot kitchen, sit the bowl of batter in a larger bowl of iced water while you work.
Getting the Consistency Right
This is where most first attempts go wrong. Fish batter should be roughly the thickness of double cream — thin enough to run off a spoon in a lazy ribbon, thick enough to leave a visible coat on the back of that spoon.
Dip a clean finger or the handle of a spoon into the mix. It should come out wearing a thin, even layer. If the batter pours off like milk, whisk in flour a tablespoon at a time. If it clings in a heavy lump, add liquid a splash at a time.
Mix gently. A few small lumps are fine and will disappear in the oil; over-whisking is the real enemy. Let the batter rest in the fridge for ten to fifteen minutes, then check the consistency again, because it will thicken as the flour hydrates.
Cold batter, dry fish, hot oil. If you remember one line from this guide, make it that one.
Temperature Does the Heavy Lifting
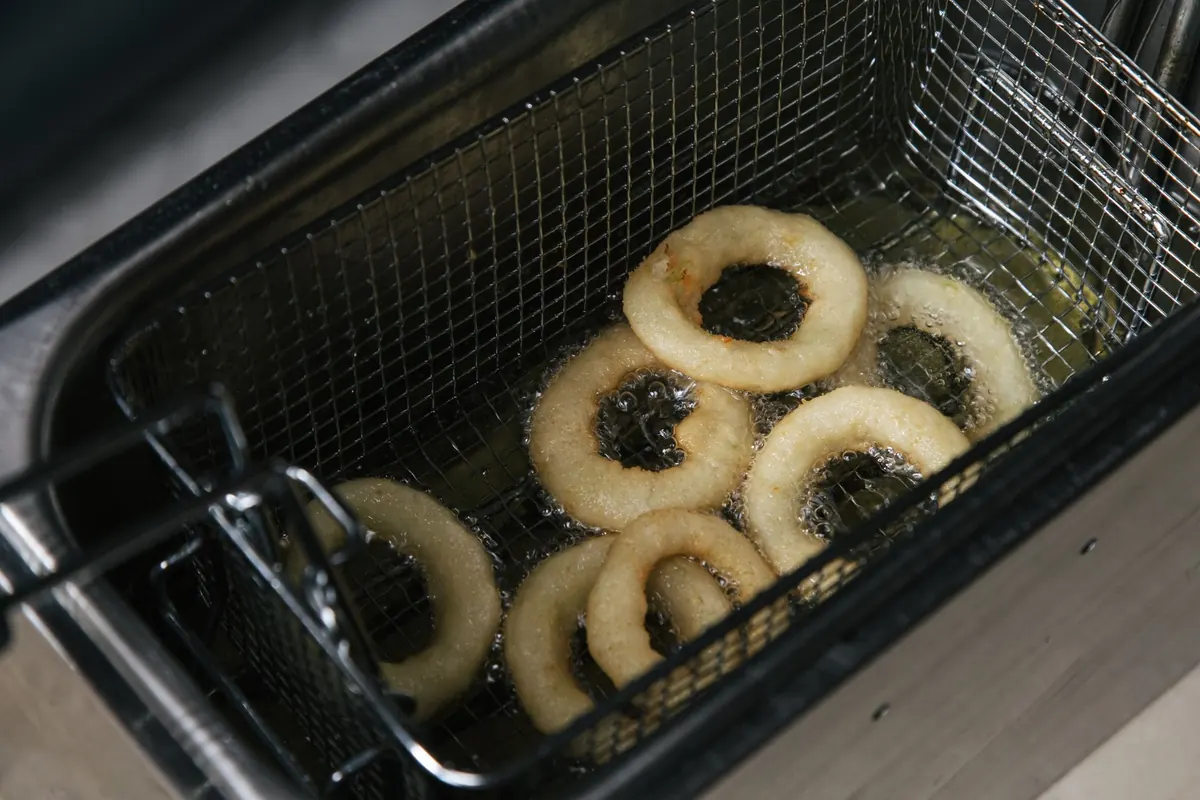
Oil that is too cool soaks into the batter and leaves you with a greasy coating. Oil that is too hot darkens the crust before the fish is cooked through. Aim for 180-190°C and use a thermometer rather than guessing — the difference between good and disappointing is often twenty degrees.
Choosing and managing the oil
Use a neutral oil with a high smoke point: sunflower, rapeseed or groundnut. Olive oil is wasted here and will smoke before the fish is done. You want the oil deep enough that the fillet floats freely, roughly 8-10cm in a deep pan or fryer.
Fry in small batches. Two fillets at a time is plenty for most home pans. Every piece you add drops the oil temperature, and a crowded pan steams rather than fries.
The Dipping Technique, Step by Step
- Dry the fish properly. Pat both sides with kitchen paper until the surface feels tacky rather than wet. Any water on the fish turns to steam under the batter and leaves a soggy patch.
- Season the fish itself with a little salt, not just the batter.
- Dust it lightly with plain flour or cornflour and shake off the excess. This dry layer gives the batter something to grip, which stops it sliding off in the pan.
- Hold the fillet by the tail end and lower it into the batter, coating the whole surface. Let the excess drain back into the bowl for a second or two — a thick puddle of batter will cook into a doughy lump.
- Lower it into the oil away from you, holding it just under the surface for a moment before releasing. This sets the coating and stops the batter from sticking to the bottom of the pan.
- Leave it alone for the first minute. Poking and turning too early tears the crust. Turn once, when the underside is deep gold.
- Drain on a rack, not on kitchen paper. Paper traps steam and softens the base of the crust you just worked for.
Common Beginner Mistakes
- Over-whisking the batter until it turns smooth and elastic.
- Using warm liquid or letting the batter sit out on the counter.
- Frying wet fish straight from the fridge without drying it.
- Crowding the pan and watching the oil temperature collapse.
- Making the batter too thick, which produces a heavy, doughy shell.
- Adding leftover batter back into the bowl after it has touched raw fish.
- Covering the finished plate with foil, which steams the crust soft in minutes.
Practise, Adjust, Enjoy
Fry one small fillet before you commit the whole batch. It costs you three minutes and tells you everything: whether the batter needs thinning, whether the oil is hot enough, and how long a fillet of that thickness takes. Six to eight minutes is a reasonable range for a standard cod or haddock fillet, but trust colour and firmness over the clock.
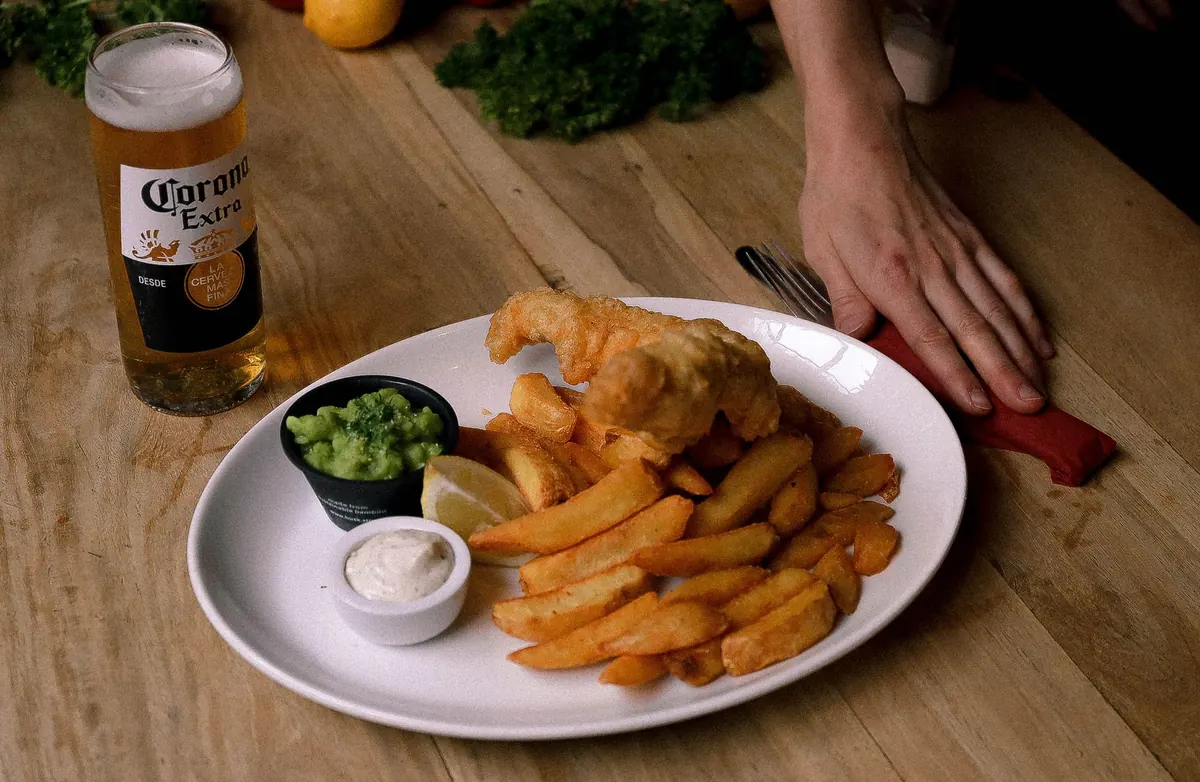
Keep a few notes — your flour-to-liquid ratio, the oil temperature, the cooking time — and you will dial in your own version within two or three attempts. Serve straight away with thick-cut chips, plenty of salt and vinegar, and a slice of lemon. If the batter slides off, the fish was wet or the oil was too cool. Both are easy to fix next time, and next time is never far off.
Photo: Ron Lach / Pexels